angle guide knife sharpening
Maintaining a sharp knife is crucial for safety and efficiency in the kitchen, and angle guides simplify achieving consistent, professional results for all cooks.
Recent updates to sharpening kits, like those from Blade Revival, emphasize quality stones, while guides from KUMA Knives offer accessible education.
Proper sharpening, aided by guides, ensures clean cuts – vital in cuisines like Japanese cooking, where precision is paramount, as highlighted by recent articles.
Why Use an Angle Guide?
Achieving a consistent sharpening angle freehand requires significant skill and practice, something many home cooks simply don’t have the time to develop. Angle guides remove much of the guesswork, ensuring a uniform bevel along the entire blade length. This consistency is paramount for optimal cutting performance and edge retention.
Without a guide, it’s easy to inadvertently alter the angle mid-stroke, leading to an unevenly sharpened blade. Recent guides, like those offered by KUMA Knives, emphasize the dangers of dull knives and how proper sharpening improves safety. An angle guide helps mitigate these risks.
Furthermore, guides are particularly beneficial when working with different knife types, each requiring a specific angle. They provide a reliable reference point, eliminating the need to memorize or constantly estimate the correct angle, ultimately leading to sharper, more effective knives.
Safety Considerations When Sharpening
Knife sharpening, even with an angle guide, involves working with extremely sharp objects and requires focused attention. Always maintain a firm grip on both the knife and the sharpening stone to prevent slipping. A stable surface is also crucial to avoid accidents.
Protect your hands; consider using cut-resistant gloves, especially when learning. Dull knives are surprisingly more dangerous than sharp ones, as they require more force, increasing the risk of slipping. KUMA Knives’ guide highlights this very point.
Be mindful of your finger placement, keeping them well clear of the blade’s path. Never rush the process; slow, controlled strokes are safer and more effective. Proper technique, combined with a reliable angle guide, minimizes risks and ensures a safe sharpening experience.
Understanding Knife Angles
The angle at which you sharpen significantly impacts a knife’s performance, determining its sharpness and edge retention, as emphasized in recent online guides.
Consistent angles are key, and angle guides help achieve this, ensuring optimal cutting ability for various tasks and blade types.
Common Knife Angles and Their Uses
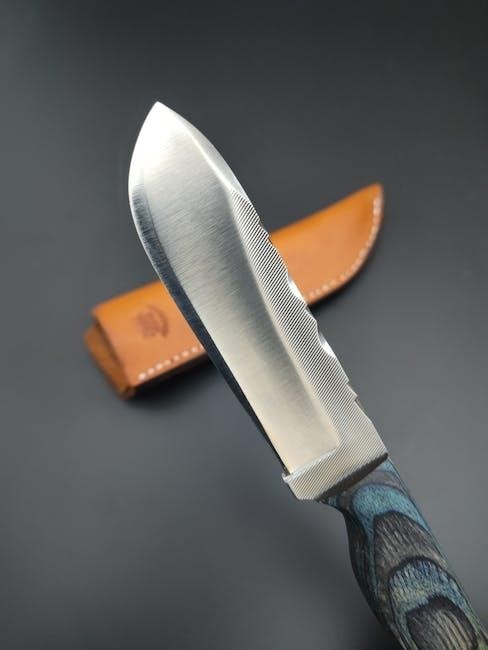
Different knife types benefit from specific edge angles, influencing their performance. A 15-degree angle, often found on Japanese knives, creates an incredibly sharp, delicate edge ideal for precise slicing like sashimi, demanding skill and precision.
Western knives typically utilize a 20-degree angle, offering a balance between sharpness and durability, suitable for general kitchen tasks. A more robust 25-degree angle is common for heavier-duty knives like cleavers, prioritizing strength over extreme sharpness.
Angle guides assist in consistently achieving these angles, crucial because a steeper angle increases durability but reduces sharpness, while a shallower angle maximizes sharpness but is more prone to chipping. Maintaining the correct angle, as highlighted in recent sharpening guides, is paramount for safety and efficiency.
The Importance of Consistent Angle
Maintaining a consistent angle during sharpening is absolutely critical for a knife’s performance and longevity. Variations in angle create an uneven edge, resulting in a blade that feels dull even when technically sharp, hindering clean cuts and increasing user effort.
Inconsistent angles weaken the edge, making it more susceptible to chipping and rolling, reducing the knife’s lifespan. This is particularly important with delicate Japanese blades requiring precise angles for optimal function.
Angle guides address this challenge by providing a reliable reference point, ensuring each section of the blade is sharpened at the same degree. As emphasized in recent guides, consistent angles translate to safer, more efficient cutting and a significantly improved culinary experience.

Types of Angle Guides
Various angle guides exist, including magnetic, clip-on, and fixed systems, each offering different levels of precision and convenience for sharpening knives effectively.
These tools help home cooks and professionals maintain optimal blade angles, improving sharpness and safety, as demonstrated by recent product releases.
Magnetic Angle Guides
Magnetic angle guides are popular for their versatility and ease of use, attaching directly to the knife blade during the sharpening process. These guides typically feature a strong magnet that securely holds a sharpening stone at a consistent angle, eliminating guesswork.
They are adaptable to various knife sizes and shapes, making them a good choice for kitchens with diverse cutlery. The magnetic connection allows for smooth, controlled movements along the blade, promoting even sharpening.
While generally effective, some users may find that the magnetic hold isn’t strong enough for heavier knives or aggressive sharpening techniques. However, for maintaining a consistent angle during routine sharpening, they offer a simple and affordable solution, aligning with the guidance offered by resources like KUMA Knives.
They are a great starting point for those new to sharpening, providing a tangible aid in mastering the correct blade angle.
Clip-On Angle Guides
Clip-on angle guides represent another accessible method for achieving consistent sharpening angles. These guides typically attach to the spine of the knife blade, providing a physical barrier that dictates the angle at which the blade meets the sharpening stone.
They are often constructed from durable plastic or metal, offering a secure and stable platform for sharpening. Like magnetic guides, clip-on versions accommodate a range of knife sizes, though some may be better suited for specific blade profiles.
A potential drawback is that the clip can sometimes obstruct the sharpening stroke or feel cumbersome, particularly for intricate sharpening tasks. However, they are a cost-effective option, mirroring the DIY approach suggested in older sharpening advice, and provide a clear visual reference for maintaining the correct angle.
They are ideal for beginners seeking a straightforward sharpening aid.
Fixed Angle Sharpening Systems
Fixed angle sharpening systems offer the most consistent and repeatable results, though they often represent a higher investment. These systems typically involve a base with pre-set angle slots or guides, into which the knife blade is inserted.
The user then draws the blade across a sharpening stone while maintaining contact with the fixed angle. This eliminates much of the guesswork involved in freehand sharpening or using clip-on guides.
These systems are particularly beneficial for those seeking professional-level sharpness and consistency, and are often favored by chefs and serious home cooks. While initially more complex to set up, they streamline the sharpening process once mastered.
Premium kits, like those from Blade Revival, often incorporate elements of fixed-angle precision alongside high-quality water stones, demonstrating a commitment to optimal sharpening outcomes.
Sharpening Stones and Abrasives
Choosing the right abrasive is key; water stones and oil stones each offer unique benefits for sharpening, impacting the blade’s edge and overall performance.
Quality sharpening kits, like Blade Revival’s, prioritize superior stone materials for optimal results and longevity.
Water Stones vs. Oil Stones
Water stones and oil stones represent the two primary abrasive categories used in knife sharpening, each possessing distinct characteristics influencing the sharpening process and final edge quality.
Water stones, favored in Japanese culinary traditions, utilize water as a lubricant, creating a slurry that aids in material removal and results in a finer, sharper edge. They typically cut faster than oil stones but require more frequent flattening due to their softer composition.
Conversely, oil stones employ oil as a lubricant, offering slower but more controlled sharpening. They are generally harder-wearing than water stones, needing less frequent flattening, and are well-suited for tougher steel types.
Recent premium sharpening kits, such as those from Blade Revival, often feature high-quality Japanese water stones, reflecting a preference for their ability to achieve exceptional sharpness. The choice between the two ultimately depends on personal preference, steel type, and desired edge characteristics.
Grit Selection for Sharpening
Selecting the appropriate grit is fundamental to effective knife sharpening, influencing the speed of material removal and the resulting edge refinement. Sharpening typically involves a progression through multiple grits, starting coarser and finishing finer.
Coarse grits (around 200-400) are used for repairing damaged blades or establishing a new bevel, removing significant amounts of steel quickly. Medium grits (600-1000) refine the edge created by the coarse grit, removing scratches and preparing for finer polishing.
Fine grits (3000-8000) are employed for polishing and achieving a razor-sharp edge, creating a refined surface. Kits like Blade Revival’s include a range of grits for comprehensive sharpening.
Understanding the steel’s hardness and the blade’s condition guides grit selection. A dull knife benefits from starting with a coarser grit, while a lightly used knife may only require medium or fine grits for maintenance.
Step-by-Step Sharpening with an Angle Guide
Begin by preparing your knife and stone, then consistently maintain the correct angle using the guide for optimal results, ensuring a sharp, safe blade.
Guides from KUMA Knives assist in achieving this precision, while quality stones, like those in Blade Revival kits, enhance the process.
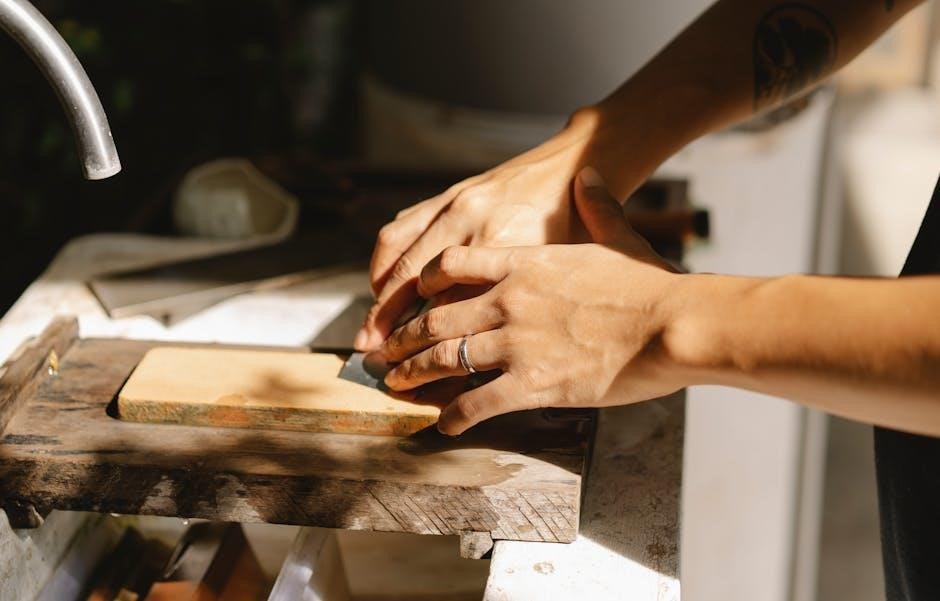
Preparing the Knife and Stone
Before beginning the sharpening process, thoroughly clean your knife to remove any food residue or debris; this ensures a smooth sharpening experience and prevents contamination of the stone.
For water stones, submerge the stone in water for the recommended duration – typically 5-10 minutes – until bubbles cease, indicating full saturation. Oil stones require a liberal application of honing oil, allowing it to penetrate the surface.
Secure the stone on a stable, non-slip surface. A damp towel underneath can prevent movement.
Establish a comfortable and stable stance, ensuring good lighting to clearly visualize the angle.
Finally, familiarize yourself with your angle guide, understanding how it attaches to the knife and maintains the desired sharpening angle, as highlighted in recent guides.
Maintaining the Correct Angle During Sharpening
Consistent angle maintenance is paramount for effective sharpening; the angle guide serves as a crucial reference point throughout the process. Gently apply pressure, letting the guide rest firmly against the stone.
Draw the knife across the stone in a smooth, controlled motion, maintaining contact with the guide. Avoid excessive force, as this can damage both the blade and the stone.
Focus on keeping the spine of the knife consistent with the guide’s surface, ensuring the entire edge receives equal attention.
Alternate sides with each stroke, counting the passes to ensure even sharpening.
Regularly check the guide’s position to confirm it hasn’t shifted, as highlighted in recent sharpening tutorials, guaranteeing a uniform edge.

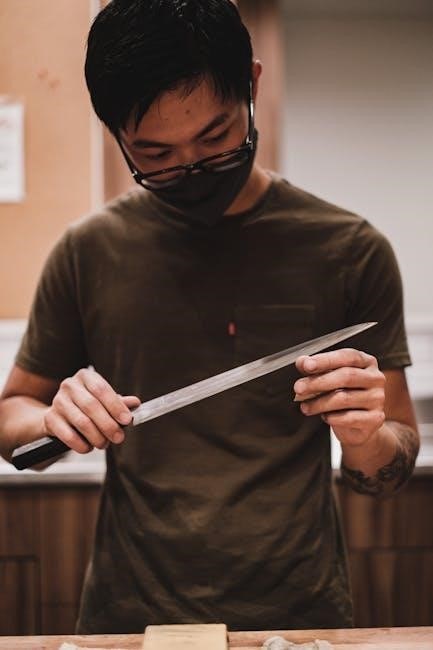
Testing for Sharpness
After sharpening, assess the blade’s sharpness using tests like the paper test or the tomato test, confirming a clean, effortless cut for optimal performance.
A truly sharp knife, achieved with an angle guide, will glide through paper and tomatoes with minimal resistance.
The Paper Test
The paper test is a widely recognized and simple method for evaluating a knife’s sharpness after utilizing an angle guide during sharpening. This test involves attempting to cleanly slice through a sheet of standard printer paper, held vertically.
A properly sharpened knife, guided to the correct angle, should slice through the paper with a smooth, drawing motion, leaving a clean, unbroken cut. Resistance or tearing indicates the blade isn’t sufficiently sharp and requires further honing or sharpening.
Avoid applying excessive downward pressure; the knife’s weight should be sufficient. Successful completion of this test demonstrates the blade’s ability to make precise cuts, crucial for kitchen tasks. It’s a quick, reliable indicator of sharpness achieved through guided sharpening.
The Tomato Test
Following the paper test, the tomato test provides a more practical assessment of a knife’s sharpness, particularly relevant for kitchen use after employing an angle guide. This test involves attempting to slice through the skin of a ripe tomato without applying significant pressure.
A truly sharp knife, honed with precision using an angle guide, should effortlessly glide through the tomato’s skin, creating a clean, smooth slice without crushing the flesh. Any tearing or requiring force indicates the blade still needs refinement.
This test mimics real-world cutting tasks and highlights the blade’s ability to handle delicate foods. A sharp knife ensures clean presentation and preserves the tomato’s texture, demonstrating the effectiveness of angle-guided sharpening.
Maintaining Sharpness
Consistent honing and occasional sharpening, facilitated by angle guides, are vital for preserving a knife’s edge and ensuring long-term performance in the kitchen.
Regular upkeep prevents dullness, enhancing safety and efficiency, as emphasized by culinary experts and sharpening kit resources available online.
Honing vs. Sharpening
Understanding the difference between honing and sharpening is fundamental to knife care, especially when utilizing angle guides. Honing doesn’t actually remove metal; instead, it realigns the blade’s edge, correcting minor bends and imperfections that develop with use.
Think of it like straightening a slightly bent paperclip – the material is still there, just repositioned. This is a frequent maintenance task, ideally performed before or after each use, to maintain a feeling of sharpness.
Sharpening, conversely, does remove metal to create a new, sharper edge. It’s necessary when honing no longer restores the blade’s performance, indicating actual metal wear. Angle guides are invaluable here, ensuring consistent removal and a precise bevel.
Using both techniques, and understanding when to apply each, will dramatically extend the life of your knives and keep them performing at their best, as recommended by culinary professionals.
Regular Maintenance Schedule

Establishing a consistent maintenance schedule is key to preserving knife sharpness, particularly when employing angle guides for precision. Daily honing, using a steel, should become routine to maintain edge alignment between sharpening sessions.
For home cooks, sharpening every 1-3 months is generally sufficient, depending on usage frequency. Professional chefs may sharpen daily or multiple times a week. Utilize your angle guide during these sessions for consistent results.
Inspect your blades weekly for signs of dullness – difficulty cutting through tomatoes or paper are telltale indicators. Adjust your sharpening frequency accordingly. Remember, dull knives are more dangerous than sharp ones!
Following a schedule, combined with proper cleaning and storage, will maximize your knives’ lifespan and ensure they remain safe and efficient tools in the kitchen, as emphasized by KUMA Knives’ guide.